To build a form on your website using the form widgets:
- Drag and drop a Form Widget to your site. This will add the container in which your form elements will be housed, including the submit button.
- Customize the form with the Create New Form dialog box.
- Title the form
- Add a description
- Customize the submit button
- Provide email where you will receive submissions
- Select the page the form will link to when submitted, or provide an external page
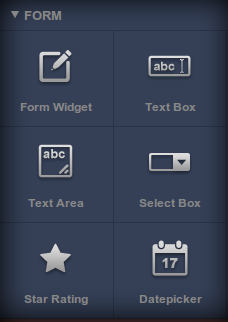
- Add form elements from the widgets selection:
- Text Box: Add a normal (one-line tall) text box to your form
- Text Area: Add a larger (multi-line) text area to your form
- Select Box: Add a drop-down box to your form. Use the gear icon to change the drop-down choices
- Star Rating: Add a rating option to your form
- Datepicker: Add a calendar to your form
- Customize the individual widgets in your form:
- Double-click on the form. This will open the Settings panel at the bottom of the screen
- Hover over the individual widget inside the form you wish to customize. You will see the options floater appear for that widget.

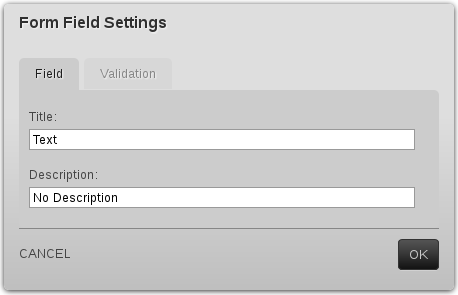
- Click the gear icon to bring up the Form Field Settings dialog box where you can customize the title and description for the field as well as the Validation settings for this element.
Once you have finished customizing the elements in your form, it is ready to accept submissions. If you have provided an email address, you will receive submissions there. You can also view your submissions at any time in the forms database.
